
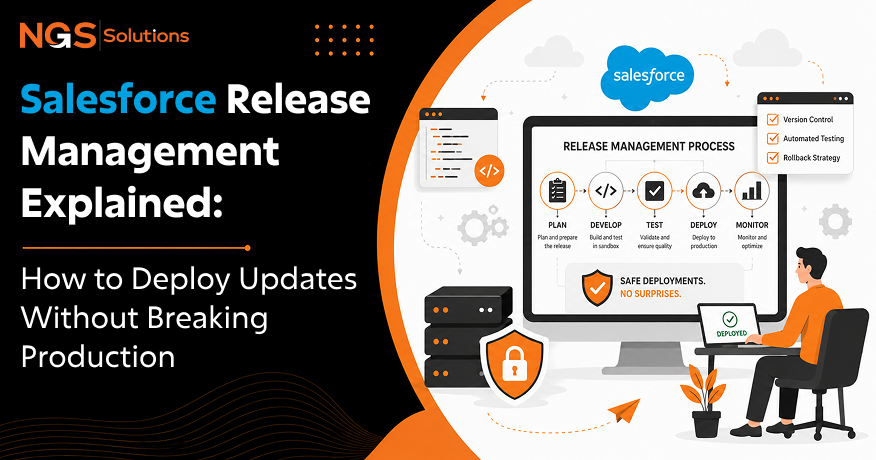
A validation rule goes live on a Friday afternoon. By Monday, half the sales team can’t close a single opportunity because a required field nobody tested for now blocks every submission. Somebody has to fix it live, in production, while reps are refreshing their screens and asking what’s going on.
That scenario is why Salesforce release management exists in the first place. It’s the discipline of moving changes, big or small, from an idea into a live org without gambling on the outcome. Get it right, and updates land quietly; nobody notices anything except that the new feature works. Get it wrong, and every deployment becomes a fire drill. This is also why many organizations invest in Salesforce support & managed services to ensure releases are properly planned, tested, monitored, and quickly resolved when unexpected issues arise.
The way release management is actually executed inside Salesforce is demonstrated by this informative guide. The environments that will be used are outlined, the steps for planning a release are explained, the testing procedures that should be followed are detailed, the deployment tools that are best suited for each team are identified, and the common mistakes that even experienced admins encounter are covered. By the end, you’ll have a practical playbook to apply to your next release, not just theory.
What Is Salesforce Release Management?
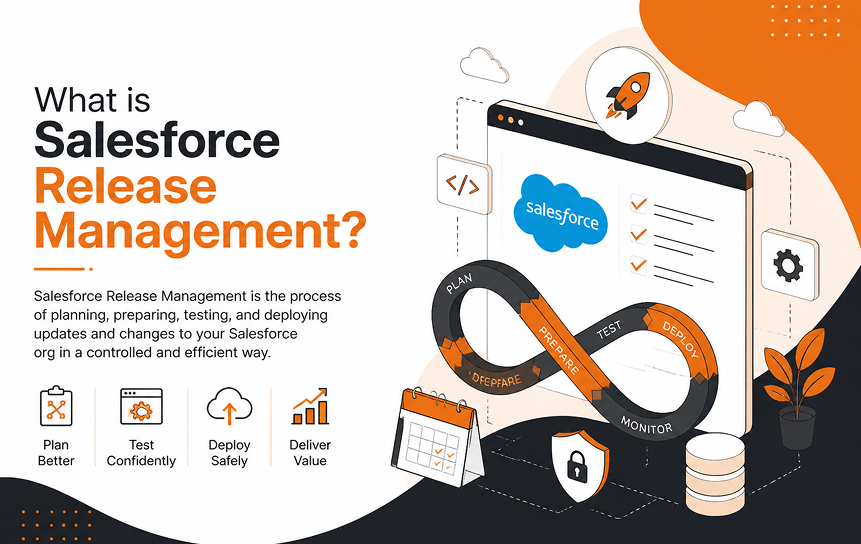
Salesforce release management is the set of steps a team follows to plan, build, test, and push changes into a Salesforce org without disrupting the people who rely on it every day. That covers a single picklist tweak just as much as it covers a six-month platform overhaul.
The whole point is control. Instead of editing production directly and hoping for the best, teams route changes through a repeatable path that catches problems while they’re still cheap to fix. It’s less about paperwork and more about not finding out something’s broken from an angry Slack message.
Release management also isn’t purely technical. Timing matters. Communication matters. So does knowing who’s accountable when something slips through. A team can have flawless code and still botch a release if nobody warned support that a field was about to disappear.
Understanding the Release Lifecycle
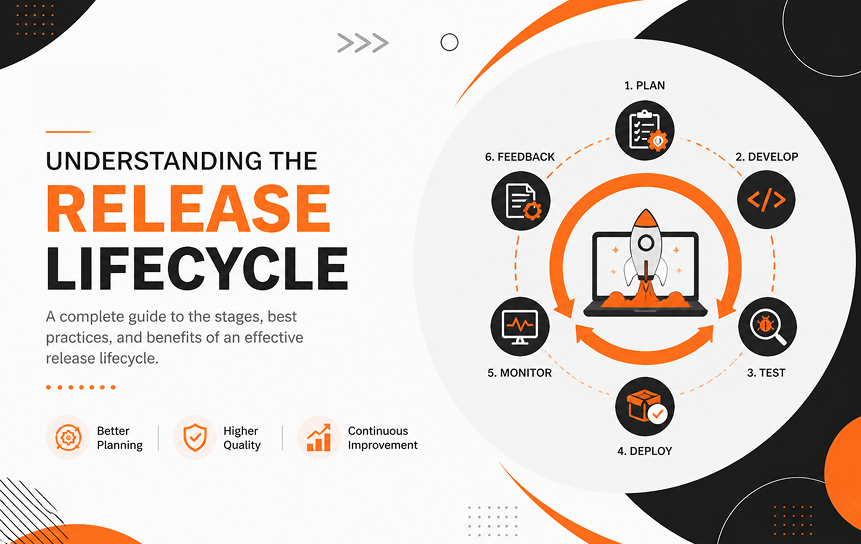
Every release moves through the same rough stages, whether or not a team labels them that way: someone defines what’s needed, developers or admins build it, testers poke holes in it, it gets deployed, and then someone keeps an eye on it afterward.
Skip a stage, and you feel it later. Teams that jump straight from “build it” to “ship it” are the ones who end up debugging in production instead of in a sandbox, where mistakes are cheap, and nobody’s watching.
Why Structured Releases Matter
Without any structure, changes pile up in a way nobody can track. One admin adjusts a page layout, a developer pushes a trigger update, a third person changes record types, and none of them know about the others’ work until two changes collide.
A defined Salesforce deployment process gives every change the same route: request it, build it, test it, get it approved, ship it. That doesn’t slow teams down as much as people assume. It actually speeds up troubleshooting later, because when something breaks, you know exactly where to look.
There’s a knowledge-transfer benefit too. New hires can follow a documented process instead of learning by trial and error, which cuts down on the “ask Sarah, she’s the only one who knows how deployments work here” problem.
Common Deployment Challenges
The same problems show up across most Salesforce orgs. A flow references a field that got deleted somewhere else. A sandbox hasn’t been refreshed in eight months and no longer resembles production. Testing gets rushed because a deadline moved up. Business teams find out about a change after it’s already live.
Most of these aren’t really technical failures; they’re process failures. A missing dependency usually means documentation was thin. A failed deployment usually means testing got skipped under pressure. Once you see the pattern, the fix is less about buying new tools and more about tightening the process you already have.
Salesforce Environments Explained
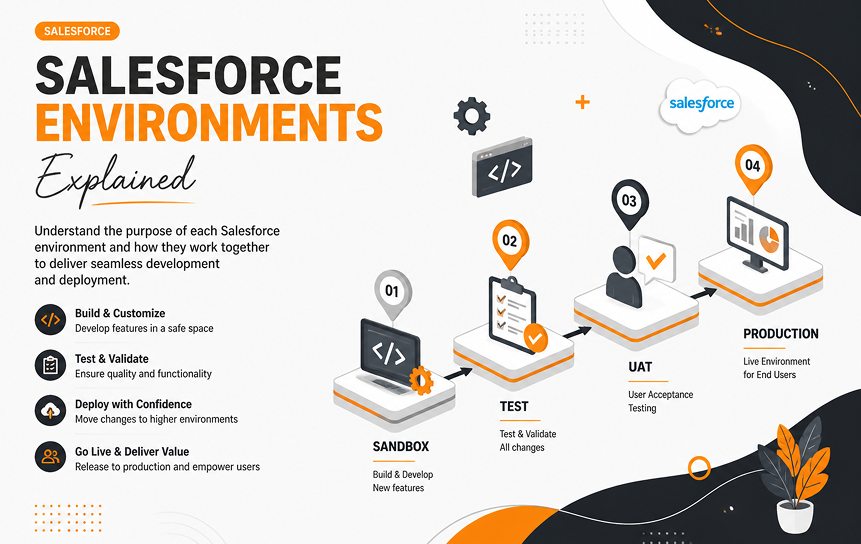
Every stage of a release happens somewhere specific. Salesforce gives you several environment types, and picking the right one for the right job is a big part of any working Salesforce deployment strategy.
| Environment | Best Used For | Refresh Frequency |
| Developer Sandbox | Solo coding and quick config changes | Daily |
| Developer Pro Sandbox | Small team development, more storage | Daily |
| Partial Copy Sandbox | Testing against sample real data | Every 5 days |
| Full Sandbox | Full-scale QA and staging | Every 29 days |
| Production | Live business operations | N/A |
Developer Sandbox
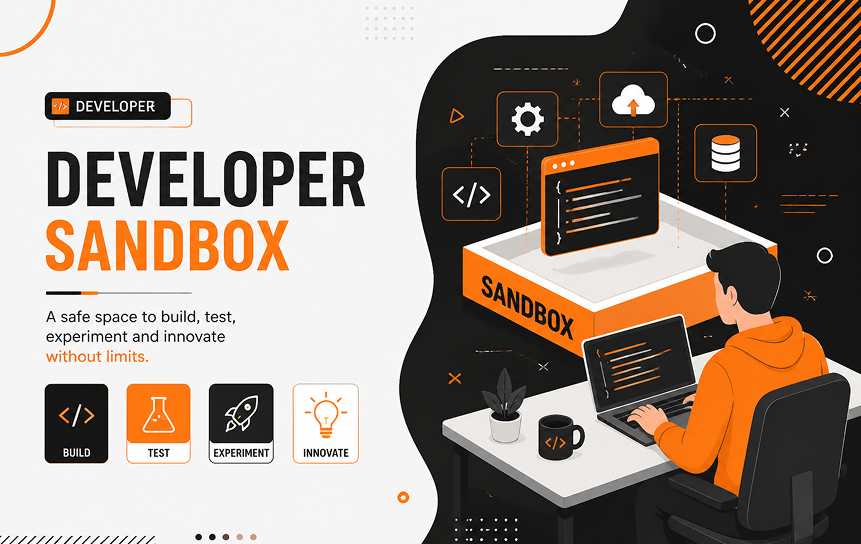
A Developer Sandbox copies your org’s metadata but skips the data. It’s built for one person to build and break things privately, without touching anyone else’s work.
Because there’s no data to sync, refreshes are fast and the risk is low. This is where most early coding, quick config edits, and small Apex tests happen before anything moves further along.
Developer Pro Sandbox
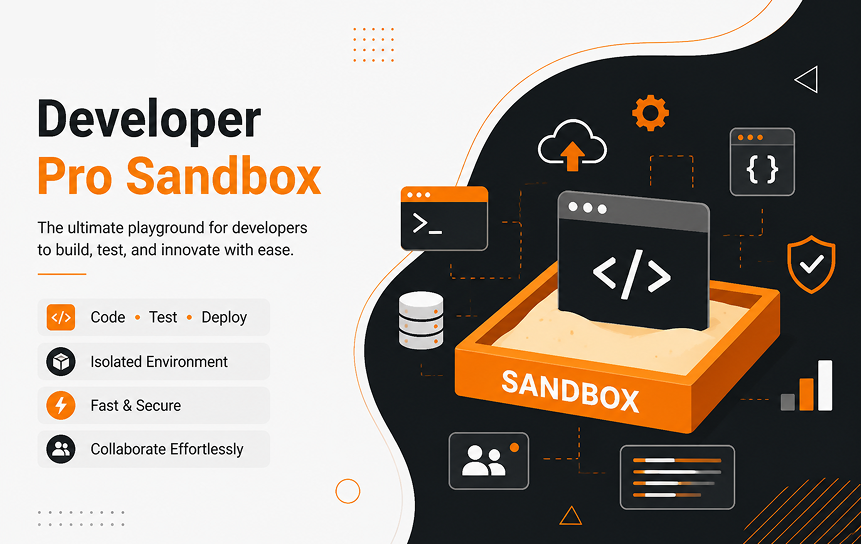
This one works the same way as a standard Developer Sandbox but with more storage room. It suits a small group working on one feature together, where a single-developer sandbox would run out of space fast.
It’s a reasonable step up for teams that have outgrown solo development but don’t need the size or cost of a full copy environment yet.
Partial Copy Sandbox
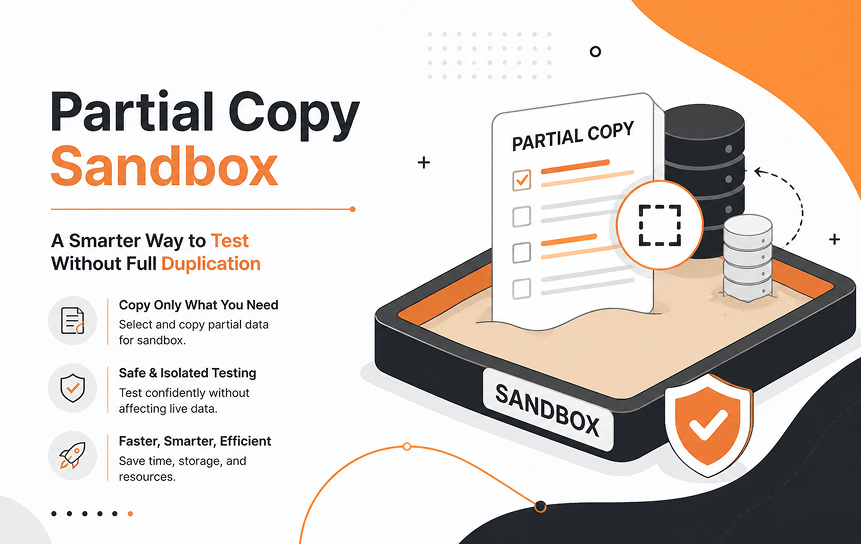
A Partial Copy Sandbox pulls in a sample of your actual production data, chosen through a sandbox template you set up in advance. That makes it a solid place to see how a new feature behaves against something closer to reality than empty test records.
Teams tend to lean on this environment for quality assurance and user acceptance testing when a full data copy is overkill but some real data still matters.
Full Sandbox
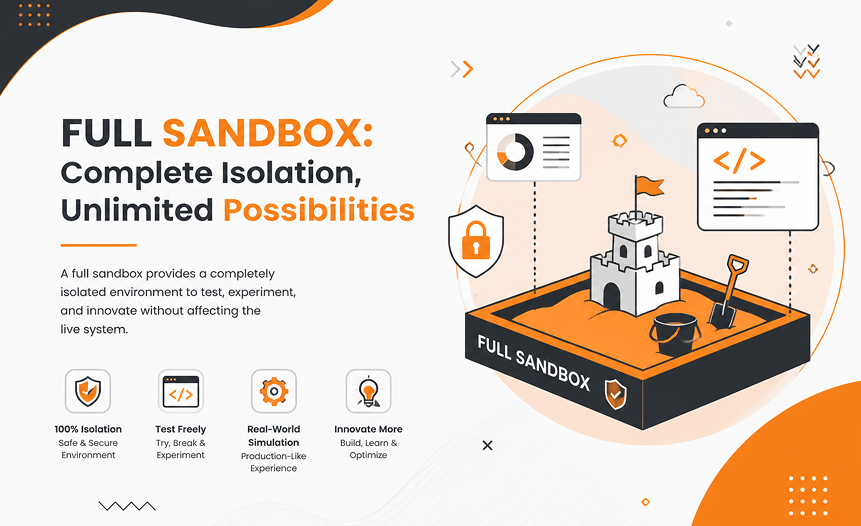
A Full Sandbox is exactly what it sounds like, a complete mirror of production: all the data, all the metadata, all the configuration. It’s as close to the real thing as you can get without actually touching it.
Save this one for final testing, things like performance validation and full regression runs right before a major release. Since refreshes only happen every 29 days, it’s not the place for daily development work.
Production Environment
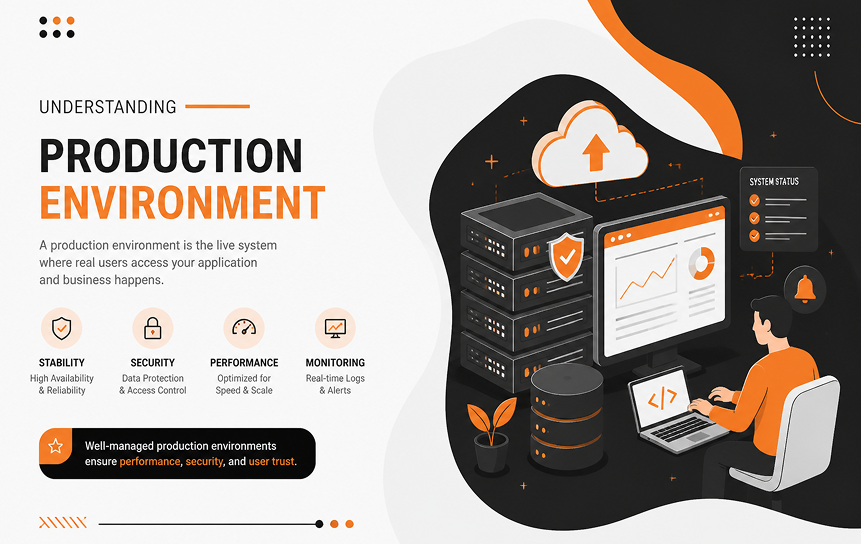
Production is the live org, the one your sales team, support agents, and everyone else actually works in day-to-day. Whatever lands here immediately affects real people doing real jobs.
That’s exactly why production deployment should always come last. Every environment before it exists to catch the mistakes that would otherwise show up here first.
Planning a Successful Salesforce Release
Good releases rarely happen by luck. They come out of deliberate Salesforce release planning that starts well before anyone opens a sandbox.
Define Business Requirements
Begin with a straightforward answer to a straightforward question: What problem is this actually solving? Vague requirements cause projects to expand beyond their intended scope and end up shipping features that no one asked for.
Write down what “done” looks like, and talk to the people who’ll actually use the thing, not just the stakeholder who requested it. Their day-to-day habits often surface details a requirements doc alone would miss.
Prioritize Features
Not everything makes it into the next release, and cramming too much in is one of the more common causes of a failed deployment. Rank requests by how much they matter to the business and how hard they are to build.
A simple high, medium, low scale is often enough to keep a release from becoming an unmanageable pile of unrelated changes.
Build a Release Timeline
A workable timeline leaves room for development, more than one round of testing, stakeholder sign-off, and a buffer for whatever goes sideways. Tight timelines are usually what pushes teams to skip the testing steps that actually matter.
Lay out the milestones and share them early. When everyone can see the deadlines, delays get flagged the week before instead of the day before.
Assign Team Responsibilities
Clear ownership stops the common trap where everyone assumes someone else is handling a piece of the work. Decide up front who’s building, who’s testing, who’s approving, and who’s telling end users what’s changing.
This matters even more in bigger orgs where several admins or developers might be working in the same environment at the same time.
Identify Risks Early
Before anything gets built, ask what could realistically go wrong. Does this touch a heavily used object? Could it break existing automation? Might it clash with something another team is already working on?
Spotting risk early buys you time to plan around it, whether that means extra testing, rolling the change out in phases, or just scheduling the deployment for a quiet evening instead of Monday morning.
Testing Before Deployment
Testing is where most deployment disasters get stopped before they start, and it’s also the first thing teams cut when a deadline gets tight. A real testing strategy is not optional if you want a dependable Salesforce deployment process.
| Test Type | What It Checks | When to Run It |
| Unit Testing | Individual Apex classes and triggers | During development |
| Integration Testing | Connections between Salesforce and outside systems | After core build is stable |
| User Acceptance Testing | Whether the feature actually works for real users | Before final approval |
| Regression Testing | Whether existing features still work | Before every production push |
| Performance Validation | How the feature behaves under real data volume | Final sandbox stage |
Unit Testing
Unit testing checks one piece of code at a time, an Apex class or trigger on its own, separate from everything else. Salesforce won’t let you deploy Apex to production without at least 75% code coverage, but hitting that number doesn’t automatically mean the tests are good.
Solid unit tests check more than the happy path. They cover bulk operations and odd input values too, the kind of edge cases that slip past a test written only to satisfy the coverage requirement.
Integration Testing
Integration testing confirms that different pieces, Salesforce plus any connected systems, actually work together. This step becomes critical the moment a release touches an API, middleware, or a third-party tool.
A feature can look perfect in isolation and still break an integration the moment it changes a field format or drops a value another system was counting on.
User Acceptance Testing (UAT)
UAT puts the feature in front of the people who’ll actually use it, before it’s live. This catches the usability problems that technical testing tends to miss, since developers and end users rarely look at a screen the same way.
It also builds trust. Users who get to try something and give feedback before launch tend to adopt it faster than users who just wake up one day to find their screen has changed.
Regression Testing
Regression testing confirms that whatever you just built didn’t quietly break something that used to work. It’s one of the steps teams skip most often, and it’s frequently the difference between a quiet deployment and a flood of support tickets the next morning.
As an org grows more complex, automating this becomes less of a nice-to-have and more of a necessity, since manually retesting every workflow before each release stops being realistic pretty fast.
Performance Validation
Performance validation checks whether a feature holds up under real load. A report that runs instantly against ten test records can time out completely against ten thousand production records.
This matters most for anything involving large data volumes, heavy automation, or high API traffic, where performance problems often only show up once you’re operating at real scale.
Deployment Methods in Salesforce
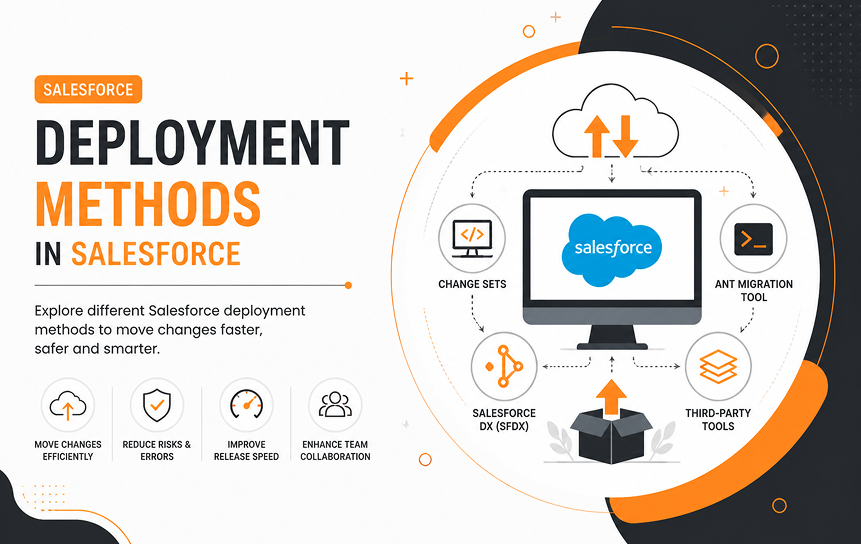
Once a release is built and tested, it needs a way to actually get into production. Salesforce offers several deployment methods, and the right one depends on team size, technical skill, and how complex the release is.
| Method | Skill Needed | Best For |
| Change Sets | Low | Small, simple releases |
| Metadata API | High (scripting) | Custom automation, integrations |
| DevOps Center | Low to medium | Admin-heavy teams wanting structure |
| Salesforce DX | Medium to high | Multi-developer projects with version control |
| CI/CD Pipelines | High | Mature teams automating the full pipeline |
Change Sets
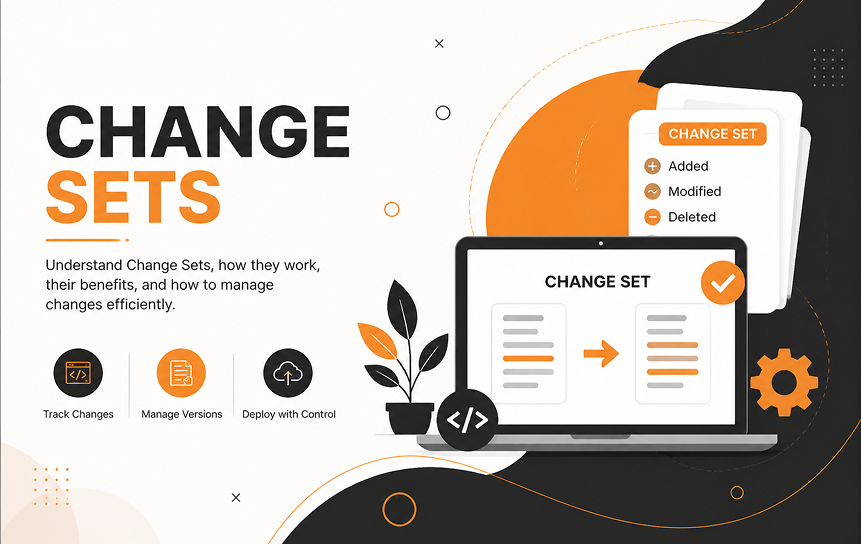
Change Sets are Salesforce’s built-in, point-and-click way to deploy. Admins pick specific metadata components and move them between connected environments, sandbox to production, for example, without writing a line of code.
They’re fine for small, self-contained releases. They get painful fast on bigger projects with a lot of interdependent components, since one missing dependency can quietly sink the entire deployment.
Salesforce DX
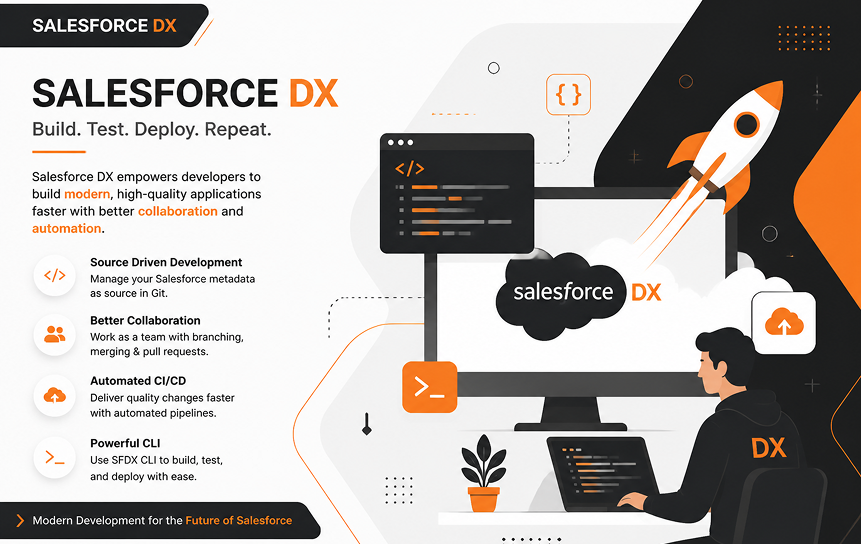
Salesforce DX treats metadata as source code, which opens the door to version control, automated testing, and a much saner way to manage projects with several developers working at once.
Teams usually move to DX once Change Sets start feeling like a bottleneck. It’s a heavier lift to set up, but it pays off the moment more than one person is touching the same org.
Metadata API
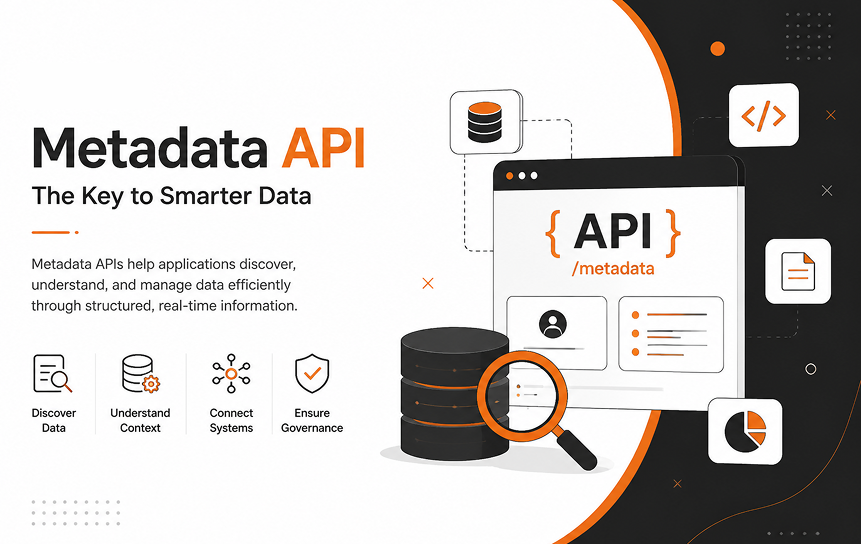
The Metadata API lets developers pull, push, and manage metadata through code instead of clicks. It’s the engine running quietly behind a lot of other tools, including parts of Salesforce DX and various third-party deployment platforms.
For teams building their own deployment scripts or wiring Salesforce into a larger automation setup, the Metadata API offers a level of control that point-and-click tools simply can’t match.
DevOps Center
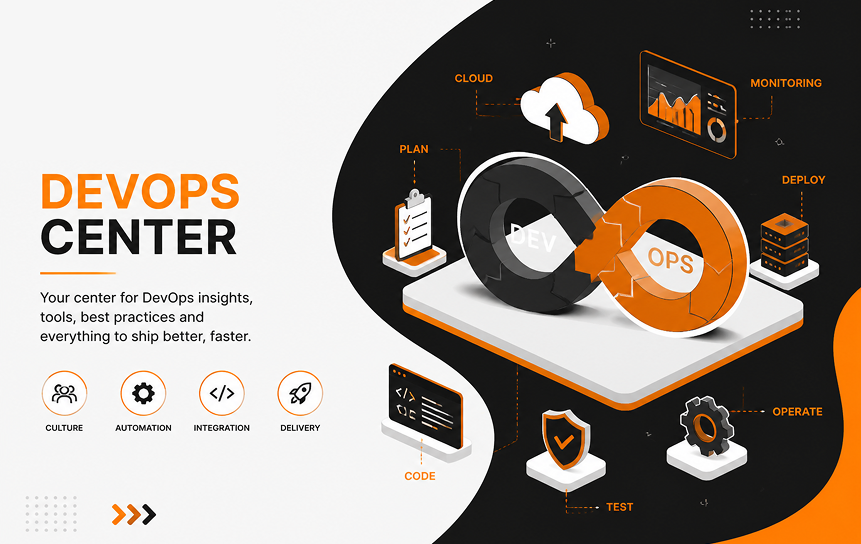
DevOps Center is Salesforce’s low-code answer for teams that want structured pipelines without needing to become Git experts overnight. It sits somewhere between basic Change Sets and a full Salesforce DX setup.
It works especially well for admin-heavy teams who want more visibility into their release process but don’t have deep version control experience on staff.
CI/CD Pipelines
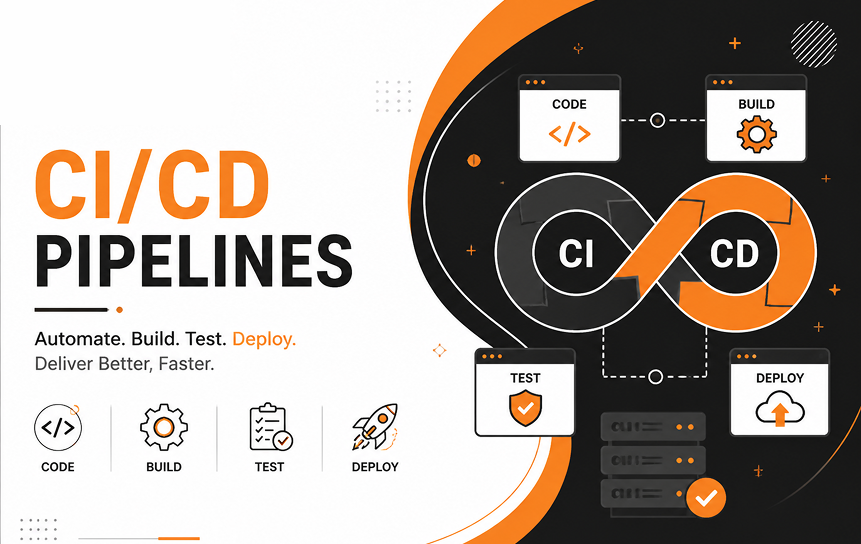
CI/CD, continuous integration and continuous delivery, automates the testing and deployment steps so changes move through environments with minimal hands-on effort. This is the backbone of a mature Salesforce DevOps practice.
A properly built pipeline can run tests automatically, flag failures the moment they happen, and push approved changes on a schedule, which cuts out a lot of the human error that creeps into repetitive manual deployments.
Common Deployment Mistakes to Avoid
Even solid teams slip up when they’re rushed. Most of these mistakes are avoidable once you know to watch for them.
| Mistake | What Usually Causes It | Quick Fix |
| Skipping documentation | Time pressure, we’ll remember | Log every change, no matter how small |
| Deploying without testing | Deadline moved up | Protect testing time even under pressure |
| Ignoring dependencies | Complex, interlinked metadata | Map dependencies before building the release package |
| No rollback strategy | Assuming the release will go fine | Always have a documented undo path |
| Poor team communication | Siloed teams, no shared calendar | Share the release schedule with everyone affected |
Skipping Documentation
When nobody writes down what changed, that knowledge walks out the door with whoever built it. Future troubleshooting turns into guesswork instead of a five-minute lookup.
Deploying Without Testing
Cutting testing to hit a deadline is one of the fastest ways to trigger a production incident. The time you think you’re saving upfront almost always comes back around, with interest, during cleanup.
Ignoring Dependencies
Salesforce metadata is tangled together more than people expect. A field referenced by a flow, a validation rule, or a report can quietly break a deployment if it’s left out of the release package.
No Rollback Strategy
Even a well-tested release can fail once it hits production, thanks to conditions sandbox testing just couldn’t replicate. Without a rollback plan, teams end up patching things live, under pressure, with users watching.
Poor Communication Between Teams
If business teams don’t know a change is coming, they can’t prepare their workflows or give their users a heads-up. Silence before a deployment almost always turns into confusion right after it.
Salesforce Release Management Best Practices
These habits are what separate teams that deploy calmly from teams that deploy nervously.
Standardize Release Processes
A documented, repeatable process eliminates the guesswork from every release. The sequence of requirements, development, testing, approval, deployment, and monitoring never changes, no matter how small the change looks on paper. This structured approach supports effective quality assurance management services by ensuring consistent testing standards, reducing release risks, and maintaining confidence in every Salesforce update.
Maintain Version Control
Version control keeps a record of every metadata change over time, so you can see exactly what changed, when, and who did it. It also makes undoing a bad deployment far less painful than trying to manually reverse it by hand. For ongoing Salesforce support and maintenance, version control provides teams with the visibility and control needed to troubleshoot issues faster, maintain system stability, and manage future updates with confidence.
Automate Testing
Manual testing stops scaling the moment your org gets complex. Automated test suites catch regressions faster and free your team up to build new things instead of re-checking old ones over and over.
Document Every Change
Even a small update deserves a short note on what changed and why. That habit saves real time the next time someone’s troubleshooting an issue that surfaces months later, long after anyone remembers the original change.
Review Releases Regularly
After each deployment, spend a few minutes on what went well and what didn’t. These short retrospectives add up over time and steadily sharpen your Salesforce release management process, release after release.
Final Thoughts
Salesforce release management isn’t red tape for its own sake. It’s what gives every change the best possible shot at working the first time, without turning your production org into a science experiment. From picking the right sandbox to choosing the deployment method that actually fits your team, every piece of this process protects the thing that matters most: an org your business can count on.
The teams that deploy with confidence aren’t the ones pushing the fewest changes. They’re the ones with a process they trust.
FAQs
-
What is the difference between a sandbox and production?
A sandbox is a separate environment where teams build and test changes without affecting live users. Production is the live Salesforce org where real users work every day. A proper Salesforce sandbox deployment allows teams to validate changes before moving to production.
-
How do Change Sets work in Salesforce?
Change Sets let admins select metadata components and move them between connected Salesforce environments, such as from a sandbox to production, using a simple point-and-click interface. They are commonly used for Salesforce sandbox to production deployment when the deployment process is straightforward.
-
Why is regression testing important before deployment?
Regression testing checks that new updates haven’t accidentally broken existing features. It is one of the most important Salesforce deployment best practices because it helps teams avoid unexpected issues after a Salesforce production deployment.
-
What is Salesforce DevOps Center?
Salesforce DevOps Center is Salesforce’s low-code release management tool. It supports a structured Salesforce DevOps workflow by connecting source control, tracking changes, and simplifying deployments for teams without requiring advanced Git knowledge.
-
How can organizations reduce deployment failures?
The best way to reduce deployment failures is to follow a clear Salesforce deployment process step by step. Plan releases early, test changes thoroughly, review dependencies, communicate with stakeholders, and use a Salesforce deployment checklist before every production deployment. These practices show how to deploy Salesforce changes safely and how to avoid deployment failures in Salesforce.
Key Takeaways
- Salesforce release management helps prevent small changes from becoming production issues through effective Salesforce change management.
- Every environment, from Developer Sandbox to Full Sandbox, has a specific role in a successful Salesforce sandbox deployment and release cycle.
- A strong Salesforce release planning guide starts with clear requirements, risk assessment, and realistic timelines.
- A complete testing strategy includes unit, integration, user acceptance testing (UAT), regression, and performance testing, not just a quick smoke test.
- Teams can choose deployment methods ranging from Change Sets to a complete Salesforce DevOps workflow, depending on project size and complexity.
- Following Salesforce deployment best practices, maintaining documentation, preparing a rollback plan, and using a Salesforce deployment checklist help ensure a smooth Salesforce production deployment with fewer deployment failures.


